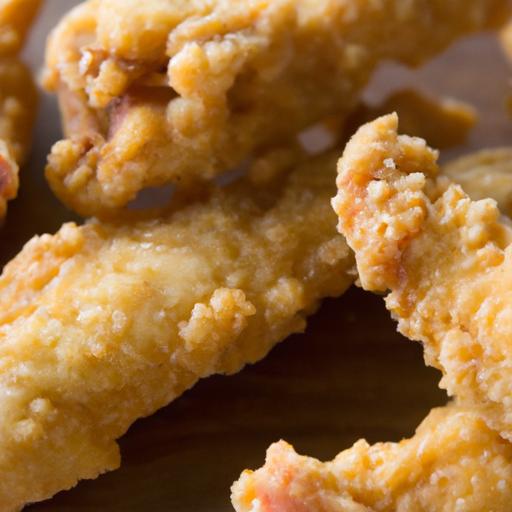
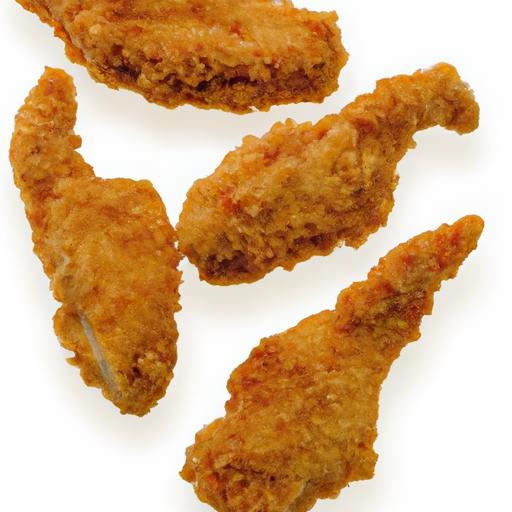
There’s something undeniably satisfying about biting into a perfectly crisp, golden chicken finger-a symphony of crunchy exterior giving way to tender, juicy meat inside.Whether you’re a home cook looking to elevate your weekday dinner or a seasoned foodie chasing the pinnacle of comfort food, mastering the art of chicken fingers is a tasty endeavor worth pursuing. In this ultimate guide, we’ll crack the code behind that coveted crispy crunch, exploring everything from batter blends and coating techniques to frying tips and baking hacks. Prepare to transform simple chicken strips into a mouthwatering masterpiece that’s sure to impress at any table.
Choosing the Best Chicken cuts for Maximum Juiciness
Crispy Crunch perfection begins with the selection of chicken cuts that retain moisture and deliver tenderness with every bite. For irresistibly juicy chicken fingers, boneless, skinless chicken thighs are a hidden gem-poorly appreciated but incredibly flavorful and moist compared to breast meat. Their slightly higher fat content ensures each strip stays succulent beneath the crunchy coating. However, if you prefer a leaner option, fresh, thick-cut chicken breasts sliced into even strips work beautifully too, provided you take care not to overcook them. Uniform thickness across pieces is essential to guarantee even cooking and consistent juiciness.
Mastering the Art of the Perfect Crispy Coating
Achieving that coveted crispy crunch is all about layering textures and flavors. Start with a light dredge of seasoned flour-salt, pepper, garlic powder, and smoked paprika create a subtle depth-before the wet batter stage. For the batter, combining buttermilk with an egg adds acidity and richness, which tenderizes the chicken and helps the crust adhere beautifully. The final breading step should involve panko breadcrumbs mixed with a touch of cornstarch; the cornstarch assists in crisping up the outer shell sharply and maintaining that crunch long after frying.
for an extra dimension, some cooks incorporate crushed cornflakes or artisan breadcrumbs for varied texture, but the golden rule is to pat the chicken dry before battering-excess moisture dilutes the coating and compromises crunch.
Secrets to Achieving Golden Crunch with Every Fry
Temperature control is your best friend.The ultimate crispy crunch ensures that frying oil sits steadily at 350°F (175°C). too hot, and the coating burns while interior remains raw; too cool, and the breading soaks up fat, becoming greasy.
Use a deep-fry thermometer to monitor the oil and cook chicken fingers in small batches. Overcrowding drops the oil temperature, robbing that crisp finish. Give each strip at least 3-4 minutes of frying time, turning gently to brown evenly.
Once fried, rest the chicken fingers on a wire rack instead of paper towels-this prevents steam from softening the crust and preserves that crispy crunch for serving.
Essential Tips for Serving and Saucing Your Chicken Fingers
Presentation is key to turning this simple snack into an unforgettable indulgence.Serve your crispy crunch chicken fingers piled high on a rustic wooden board or in a colorful basket lined with parchment paper. Accompany with a trio of sauces: a tangy honey mustard, smoky chipotle aioli, and a classic creamy ranch. Garnish with freshly chopped parsley or chives for a pop of color and freshness.
For a balanced bite, pair with crisp celery sticks and baby carrots, or for a heartier meal, a side of crunchy coleslaw or seasoned fries complements these golden treasures beautifully.
Prep and Cook Time
- Prep Time: 20 minutes
- Cook Time: 15 minutes
- Total Time: 35 minutes
Yield
Serves 4-6 hungry guests
Difficulty Level
Medium – perfect for home cooks eager to elevate their frying skills
Ingredients
- 1 lb boneless,skinless chicken thighs or breasts,cut into 3-4 inch strips
- 1 cup buttermilk
- 1 large egg
- 1 ½ cups all-purpose flour,sifted
- 1 tsp garlic powder
- 1 tsp smoked paprika
- 1 tsp salt
- ½ tsp freshly ground black pepper
- 1 ½ cups panko breadcrumbs
- 2 tbsp cornstarch
- Vegetable oil for frying
Instructions
- Prepare the chicken: Pat chicken strips dry with paper towels for optimal coating adherence. Place in a large bowl.
- make the marinade: whisk together buttermilk and egg. Pour over chicken, mixing well to coat. Cover and refrigerate for at least 30 minutes or up to 4 hours.
- Mix dry ingredients: Combine sifted flour, garlic powder, smoked paprika, salt, and pepper in a shallow dish.
- Prepare the breadcrumb coating: In another shallow bowl, stir together panko breadcrumbs and cornstarch until evenly blended.
- Dredge and bread the chicken: Remove one piece from the marinade,shaking off excess liquid. Coat evenly in the seasoned flour, then dip back into the marinade quickly, and finally press firmly into the breadcrumb mixture ensuring full coverage. Set on a wire rack while you bread the rest.
- Heat the oil: Fill a heavy-bottomed pot with 2-3 inches of vegetable oil and heat to 350°F (175°C). Use a deep-fry thermometer for accurate monitoring.
- Fry in batches: Carefully lower 3-4 chicken fingers into the hot oil. Fry for 3-4 minutes, turning gently once, until golden brown and cooked through.
- Drain properly: Transfer fried chicken fingers to a wire rack set over a baking sheet to cool slightly and avoid sogginess.
- Serve: Arrange chicken fingers on a platter, garnish with freshly chopped herbs, and accompany with your favorite dipping sauces.
Tips for Success
- For maximum moisture retention, brine chicken strips in a quick saltwater solution prior to marinating in buttermilk.
- Resting coated chicken on a rack before frying helps breading set and prevents it from falling off during cooking.
- If you prefer oven-frying, bake at 425°F (220°C) on a wire rack for 15-20 minutes, flipping halfway.
- Keep the frying oil clean by straining after each use to maintain crispness and avoid any burnt flavors.
- Adjust seasoning in flour and breadcrumbs for personalized flavor; add cayenne for heat or Italian herbs for warmth.
Serving Suggestions
Display your crispy chicken fingers alongside crunchy celery sticks and zesty carrot batons for a refreshing bite. Offer an array of sauces like tangy honey mustard, creamy ranch, or smoky chipotle aioli in ramekins to enhance the dipping experience. Garnish with a sprinkle of fresh parsley or chives to brighten the plate visually and add fresh herbal notes to each bite.Pair with a chilled glass of iced tea or a sparkling lemonade for the perfect indulgent yet balanced meal.
| Nutritional Info (per serving) | Calories | Protein | Carbs | Fat |
|---|---|---|---|---|
| Chicken Thigh Version | 350 kcal | 28 g | 20 g | 14 g |
| Chicken Breast Version | 320 kcal | 30 g | 19 g | 8 g |

For more tips on perfecting your frying skills, check out our detailed how-to guide. To learn about the chemistry behind frying and safe oil selection, visit this Healthline article on frying foods.
Q&A
Q&A: Crispy Crunch – The Ultimate Guide to Perfect Chicken Fingers
Q1: What makes chicken fingers crispy and crunchy rather of soggy?
A: The secret lies in a combination of dry and wet coatings plus frying technique. Start with a well-seasoned flour dredge, followed by an egg wash, and finish with panko breadcrumbs for extra crunch. Double-dipping the chicken (flour, egg, breadcrumbs, then repeat) creates layers that crisp beautifully. Also, frying at the right temperature-around 350°F (175°C)-ensures the coating crisps up before absorbing too much oil, keeping your chicken fingers perfectly crunchy.
Q2: Can I bake chicken fingers instead of frying them and still get them crispy?
A: Absolutely! Baking can deliver crispy chicken fingers, but it requires a few tricks. Use panko breadcrumbs combined with a light spray or drizzle of oil. Baking at a high temperature, around 425°F (220°C), helps create that golden crust. Placing the fingers on a wire rack over a baking sheet allows hot air to circulate, crisping all sides evenly. While frying still edges out baking in crispiness, baking is a healthier, hands-off alternative that can still satisfy your crunch cravings.Q3: What type of breadcrumbs work best for crispy chicken fingers?
A: Panko breadcrumbs reign supreme in the crunch department.They’re lighter and flakier than customary breadcrumbs, creating a crispy exterior without feeling heavy or greasy. If you want to get creative, mixing panko with crushed cornflakes or crispy rice cereal can add an extra dimension of crunch, but pure panko is the classic go-to for that ultimate crispy texture.
Q4: How can seasoning be optimized in chicken fingers to complement their crispy texture?
A: Seasoning is just as important as texture. Season the flour with salt, pepper, garlic powder, onion powder, and paprika for a flavorful base. You can add some dry herbs like thyme or oregano for a subtle twist.Also, seasoning the chicken itself before breading ensures every bite is savory and balanced. Don’t forget a pinch of cayenne or chili powder if you want a little heat to tickle your taste buds.Q5: Is it better to use white meat or dark meat for making chicken fingers?
A: White meat-specifically chicken breast-is the classic choice for chicken fingers due to its mild flavor and firm texture. It holds up well to breading and provides the familiar, tender bite people expect. Dark meat can be juicier, but it tends to be fattier and softer, which might affect the crispiness and shape of your fingers. For ultimate crisp and bite, opt for skinless, boneless chicken breast strips.
Q6: how long should I fry chicken fingers to get them perfectly cooked inside and crispy outside?
A: Fry chicken fingers for about 3 to 4 minutes per batch, depending on their thickness.You’re aiming for a golden-brown crust and an internal temperature of 165°F (74°C). It’s important not to overcrowd the pan, as this drops the oil temperature and leads to greasy, soggy breading. Work in small batches for consistent crispiness.
Q7: Are there any tips for keeping chicken fingers crispy after cooking?
A: Yes! To maintain crispiness, place cooked chicken fingers on a wire rack rather of paper towels. The rack allows excess oil to drip away and air to circulate, preventing sogginess. If holding them for a bit before serving, keep them in a warm oven (about 200°F or 93°C) on a wire rack until ready to eat. Avoid stacking fingers on plates or wrapping them in foil-trapping steam kills that crunch.
Q8: Can chicken fingers be made ahead of time and reheated without losing their crisp?
A: They can! Bake or fry chicken fingers as usual, then let them cool entirely. Store them uncovered on a wire rack in the fridge. When reheating, avoid the microwave as it makes breading chewy. Instead, re-crisp them in a hot oven or toaster oven at 375°F (190°C) for about 10 minutes. This refreshes the crunch and heats the meat through perfectly.
Q9: What dipping sauces pair best with crispy chicken fingers?
A: Chicken fingers are like blank canvases for flavor explosions! Classic dipping sauces include tangy honey mustard, smoky barbecue, spicy buffalo, or creamy ranch. For a gourmet twist, try garlic aioli, sriracha mayo, or a zesty herb yogurt dip. The key is balancing flavors-something creamy or spicy contrasts the crunch and keeps every bite exciting.
Q10: Can I make chicken fingers gluten-free without sacrificing crispiness?
A: Definitely! Swap traditional flour and breadcrumbs for gluten-free flour blends and gluten-free panko or crushed gluten-free cereals. Ingredients like almond flour mixed with gluten-free panko can add great texture. Ensure all seasoning and coatings are gluten-free, and fry or bake as usual. With the right ingredients, you won’t miss a single crunch.
Feel inspired to create chicken fingers that are always crispy on the outside, juicy on the inside? With these tips and tricks, you’re well on your way to mastering the art of the perfect crispy crunch!
In Retrospect
As the golden crust crackles beneath your teeth and the tender, juicy chicken inside melts with every bite, you realize that mastering the perfect chicken fingers is both an art and a delicious adventure. Whether you’re a seasoned home cook or a curious food lover, the crispy crunch is within your grasp-armed now with the tips, tricks, and techniques from this ultimate guide. so next time you crave that irresistible combination of crunch and comfort, remember: perfection is just a dip and a dash away. Happy frying!